
Laing - Taro & Coconut Milk Recipes
Laing - Taro & Coconut Milk Recipes
- Serves: 6 People
- Prepare Time: 25 minutes
- Cooking Time: 60 minutes
- Calories: -
- Difficulty: Medium
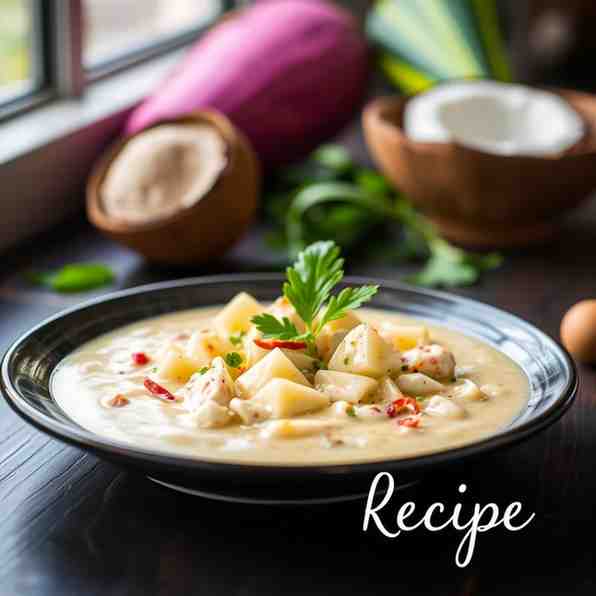
Welcome to the heart of Filipino comfort food! If you're searching for incredible recipes using coconut milk, you've landed on a true gem. Get ready to discover Authentic Filipino Laing (Taro Leaves in Coconut Milk) — Classic Bicolano Recipe. This isn't just any dish; it's a rich, creamy, and deeply satisfying stew that perfectly showcases the magic of fresh coconut milk and tender taro leaves. Whether you're a seasoned chef or just starting your culinary journey, this detailed guide will walk you through creating a truly authentic main dish from the Philippines, guaranteed to become a new family favorite. We’ll cover everything from preparing taro leaves safely to achieving that perfect, velvety sauce, making it easy for anyone to master this delicious slow cooked dish experience (even if it's on the stovetop!).
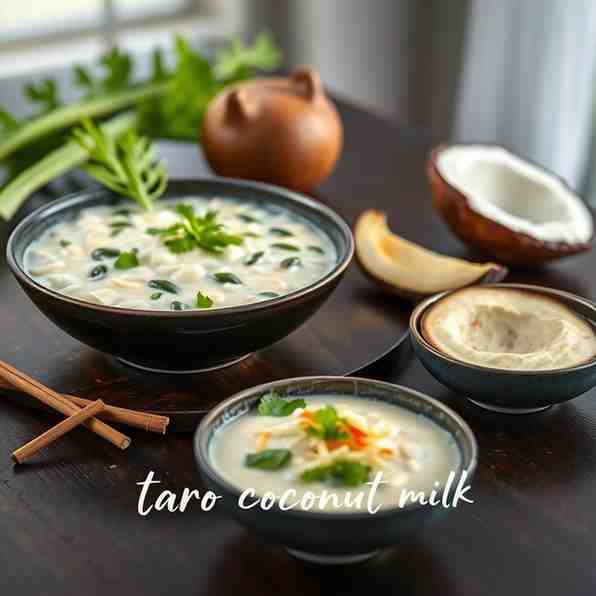
Laing is a beloved classic from the Bicol region of the Philippines, renowned for its spicy, coconut-rich cuisine. It’s a dish that embodies warmth and tradition, typically enjoyed with a generous serving of steamed white rice. Our recipe focuses on true Filipino flavors, providing you with detailed yet approachable instructions. We’ll also share crucial safety tips for handling taro leaves, ensuring your cooking experience is as smooth and enjoyable as the final product. So, if you're ready to explore the vibrant cuisine in Philippines and master one of the most iconic meals with coconut milk, let's get cooking!
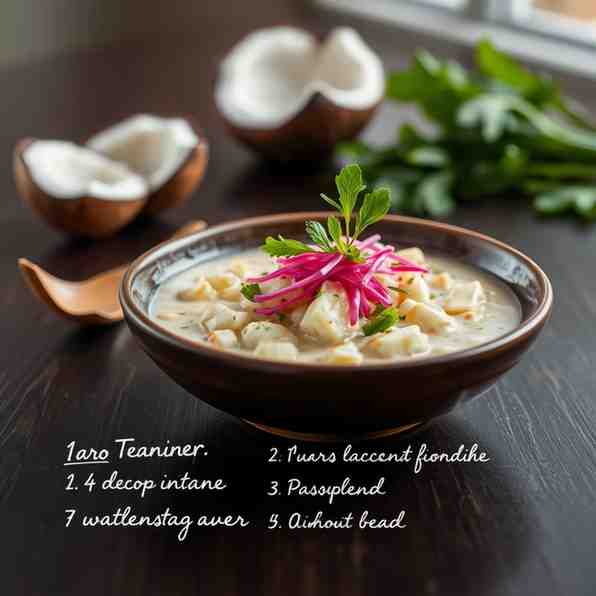
Ingredients
Directions
- Prepare Taro Leaves (Crucial for Safety)
- For Dried Taro Leaves: If using dried leaves, gently rinse them under cold water. Do NOT soak them for too long, as this can wash away their natural starches, which contribute to the sauce's creaminess. Simply rinse and set aside.
- For Fresh Taro Leaves: This step is vital to avoid the itchiness (calcium oxalate crystals) associated with taro leaves. Thoroughly wash the leaves. Remove any tough stems. Wearing gloves is recommended. Blanch the fresh leaves in boiling water for 5-7 minutes, then immediately transfer them to an ice bath to stop cooking. Drain well and squeeze out excess water. Chop roughly if desired.
- Ingredient Science & Safety: Taro leaves contain calcium oxalate crystals, which cause an itchy or tingling sensation in the mouth and throat if not properly prepared. Blanching (for fresh leaves) and thorough cooking in coconut milk neutralizes these compounds. Never stir the taro leaves prematurely during cooking, as this can release the irritants into the sauce.
- Sauté Aromatics
- In a large pot or Dutch oven, heat the cooking oil over medium heat.
- Add the minced garlic, chopped onion, and sliced ginger. Sauté until the onions are translucent and the aromatics are fragrant (about 3-5 minutes).
- Stir in the sliced chilies.
- Add Coconut Milk and Build Flavor
- Pour in the thick coconut milk and fresh coconut milk. If using dried taro leaves, add the 1/4 cup of water at this stage.
- Bring the mixture to a gentle simmer, stirring occasionally to prevent the coconut milk from curdling.
- Add Taro Leaves (No Stirring + Explanation)
- Carefully add the prepared taro leaves (dried or blanched fresh) on top of the simmering coconut milk mixture.
- DO NOT STIR THE LEAVES YET.
- The reason for not stirring is twofold: it helps prevent the release of oxalates from fresh leaves, and it allows the leaves to cook down gently and absorb the coconut milk without breaking apart too soon.
- Integrate Protein (Pork Belly + Shrimp Paste)
- If using, add the pork belly slices on top of the taro leaves.
- Gently spoon in the shrimp paste (bagoong alamang). The shrimp paste adds a crucial umami depth to the Laing, characteristic of authentic Filipino dishes.
- Simmer to Depth of Flavor & Finish
- Reduce the heat to low, cover the pot, and let it simmer for at least 45-60 minutes. The goal is to cook the taro leaves until they are very tender and the sauce has thickened and reduced to a rich, creamy consistency.
- After 45-60 minutes (or once the leaves are very tender and the sauce has thickened significantly): You can now gently stir the mixture to combine everything. The leaves should have fully absorbed the coconut milk and become soft.
- Taste and adjust seasoning with salt and pepper as needed. If the sauce is too thin, continue to simmer uncovered for a few more minutes until it reaches your desired consistency. If it's too thick, add a splash more light coconut milk or water.
Laing - Taro & Coconut Milk Recipes
- Serves: 6 People
- Prepare Time: 25 minutes
- Cooking Time: 60 minutes
- Calories: -
- Difficulty: Medium
Welcome to the heart of Filipino comfort food! If you're searching for incredible recipes using coconut milk, you've landed on a true gem. Get ready to discover Authentic Filipino Laing (Taro Leaves in Coconut Milk) — Classic Bicolano Recipe. This isn't just any dish; it's a rich, creamy, and deeply satisfying stew that perfectly showcases the magic of fresh coconut milk and tender taro leaves. Whether you're a seasoned chef or just starting your culinary journey, this detailed guide will walk you through creating a truly authentic main dish from the Philippines, guaranteed to become a new family favorite. We’ll cover everything from preparing taro leaves safely to achieving that perfect, velvety sauce, making it easy for anyone to master this delicious slow cooked dish experience (even if it's on the stovetop!).
Laing is a beloved classic from the Bicol region of the Philippines, renowned for its spicy, coconut-rich cuisine. It’s a dish that embodies warmth and tradition, typically enjoyed with a generous serving of steamed white rice. Our recipe focuses on true Filipino flavors, providing you with detailed yet approachable instructions. We’ll also share crucial safety tips for handling taro leaves, ensuring your cooking experience is as smooth and enjoyable as the final product. So, if you're ready to explore the vibrant cuisine in Philippines and master one of the most iconic meals with coconut milk, let's get cooking!
Ingredients
Directions
- Prepare Taro Leaves (Crucial for Safety)
- For Dried Taro Leaves: If using dried leaves, gently rinse them under cold water. Do NOT soak them for too long, as this can wash away their natural starches, which contribute to the sauce's creaminess. Simply rinse and set aside.
- For Fresh Taro Leaves: This step is vital to avoid the itchiness (calcium oxalate crystals) associated with taro leaves. Thoroughly wash the leaves. Remove any tough stems. Wearing gloves is recommended. Blanch the fresh leaves in boiling water for 5-7 minutes, then immediately transfer them to an ice bath to stop cooking. Drain well and squeeze out excess water. Chop roughly if desired.
- Ingredient Science & Safety: Taro leaves contain calcium oxalate crystals, which cause an itchy or tingling sensation in the mouth and throat if not properly prepared. Blanching (for fresh leaves) and thorough cooking in coconut milk neutralizes these compounds. Never stir the taro leaves prematurely during cooking, as this can release the irritants into the sauce.
- Sauté Aromatics
- In a large pot or Dutch oven, heat the cooking oil over medium heat.
- Add the minced garlic, chopped onion, and sliced ginger. Sauté until the onions are translucent and the aromatics are fragrant (about 3-5 minutes).
- Stir in the sliced chilies.
- Add Coconut Milk and Build Flavor
- Pour in the thick coconut milk and fresh coconut milk. If using dried taro leaves, add the 1/4 cup of water at this stage.
- Bring the mixture to a gentle simmer, stirring occasionally to prevent the coconut milk from curdling.
- Add Taro Leaves (No Stirring + Explanation)
- Carefully add the prepared taro leaves (dried or blanched fresh) on top of the simmering coconut milk mixture.
- DO NOT STIR THE LEAVES YET.
- The reason for not stirring is twofold: it helps prevent the release of oxalates from fresh leaves, and it allows the leaves to cook down gently and absorb the coconut milk without breaking apart too soon.
- Integrate Protein (Pork Belly + Shrimp Paste)
- If using, add the pork belly slices on top of the taro leaves.
- Gently spoon in the shrimp paste (bagoong alamang). The shrimp paste adds a crucial umami depth to the Laing, characteristic of authentic Filipino dishes.
- Simmer to Depth of Flavor & Finish
- Reduce the heat to low, cover the pot, and let it simmer for at least 45-60 minutes. The goal is to cook the taro leaves until they are very tender and the sauce has thickened and reduced to a rich, creamy consistency.
- After 45-60 minutes (or once the leaves are very tender and the sauce has thickened significantly): You can now gently stir the mixture to combine everything. The leaves should have fully absorbed the coconut milk and become soft.
- Taste and adjust seasoning with salt and pepper as needed. If the sauce is too thin, continue to simmer uncovered for a few more minutes until it reaches your desired consistency. If it's too thick, add a splash more light coconut milk or water.
You may also like


Hey there! I’m just someone who seriously loves good food and believes that cooking doesn’t have to be complicated to be amazing. Whether it’s a quick weeknight dinner or a cozy weekend meal, I’m all about sharing easy, tasty recipes that actually work.


